With active listings in the Fraser Valley sitting 45% above the 10-year average this May, your home isn't just competing with the house down the street; it's fighting for attention in a crowded digital gallery. In a buyer's market where inventory is high, your first showing happens on a smartphone screen long before anyone steps through your front door. It's natural to feel a bit of stress about whether your rooms will look dark or if your space will seem smaller than it is. You want your property to shine, and these professional home sale photography tips are designed to make that happen.
We understand that preparing for a professional shoot can feel like a mountain of work, but you don't have to do it alone. We've seen how the right preparation leads to more showing requests and, ultimately, a higher final sale price. This guide will give you a clear, actionable plan to master the art of preparing your home for the camera. We'll cover everything from what to hide to how to capture that magazine-quality look, ensuring your listing stands out on the MLS and captures the hearts of high-value buyers.
Key Takeaways
- Learn why the "Three-Second Rule" defines your success on the MLS and how professional imagery directly boosts your click-through rates in a crowded market.
- Discover essential room-by-room staging secrets, including the "Clear Counter" policy that makes your kitchen look significantly larger and more inviting.
- Find out how to use the "Golden Hour" and "Blue Hour" to your advantage, ensuring your home looks bright and airy even during typical grey Pacific Northwest weather.
- Follow our 60-minute pre-shoot protocol and expert home sale photography tips to efficiently hide the clutter of daily life before the photographer arrives.
- Understand when to leverage drone footage and 3D virtual tours to capture the attention of out-of-province buyers moving to the Fraser Valley.
Why Digital First Impressions Dictate Fraser Valley Sale Prices
In the fast-moving digital marketplace of May 2026, you have exactly three seconds to capture a buyer's interest. As they scroll through the MLS on their phone, your lead image acts as a gatekeeper. If it doesn't resonate instantly, they've already moved on to one of the other 9,800 active listings currently available in the Fraser Valley. High-quality imagery doesn't just look nice; it signals to the search algorithm that your property is high-value. This engagement boosts your ranking and increases your click-through rates, which is vital when the market is as competitive as it is today.
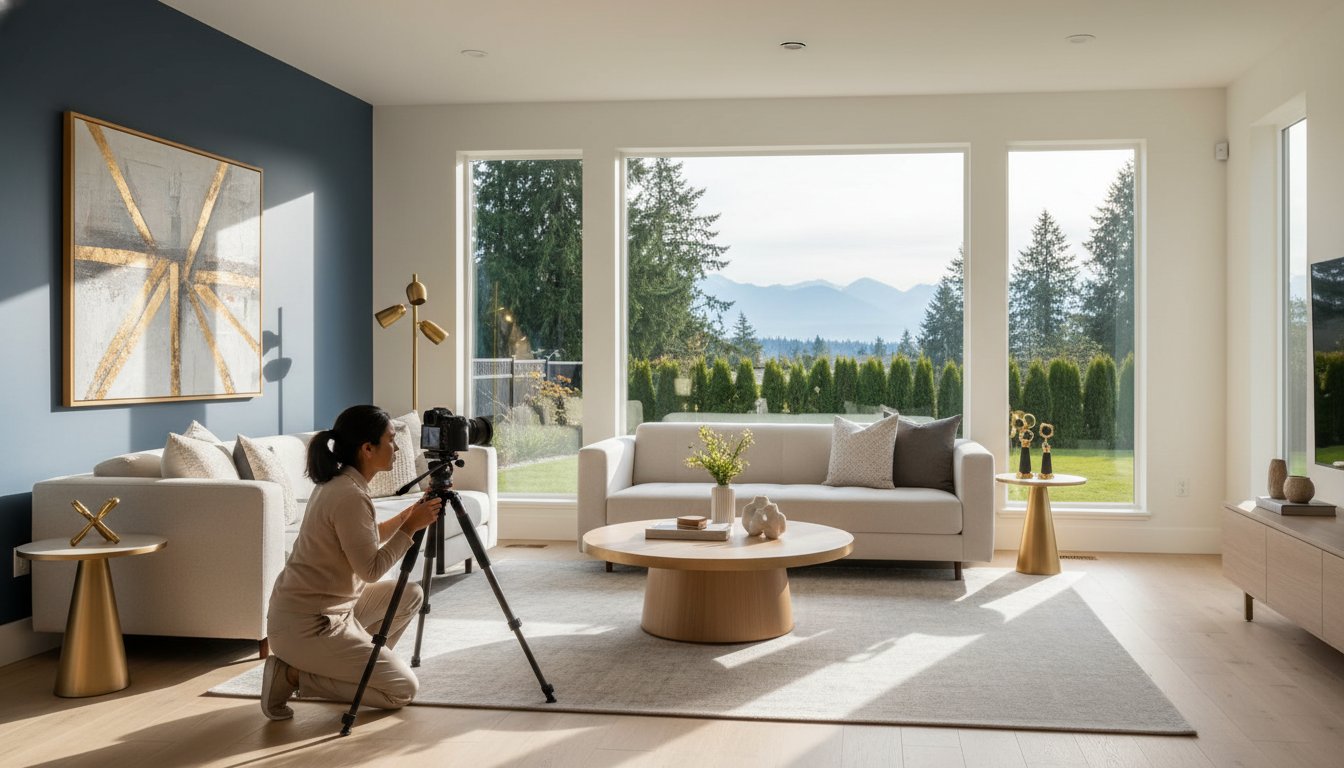
There's a significant difference between a house that's "clean" and one that's truly "photo-ready." While a clean house is perfect for hosting a Sunday dinner, a photo-ready house utilizes Architectural photography principles to highlight structural flow and natural light. We often see sellers rely on extreme wide-angle lenses to make rooms look massive. However, the psychology of space requires a balance. If the photos are too distorted, buyers feel a sense of disappointment the moment they walk through the door. Maintaining architectural truth while maximizing light is one of the most effective home sale photography tips for building immediate trust with a prospect.
The ROI of Professional Real Estate Imagery
Professional imagery is no longer an optional upgrade for luxury homes in Langley or Surrey; it's a fundamental requirement. With the current sales-to-active ratio at 11%, we're firmly in a buyer's market. This means buyers have more choices and more power to be picky. Investing in a professional photography package typically costs a small fraction of a single price reduction. High-end photos lead to more showing requests because they allow buyers to visualize their future life in the space. We've seen that listings with professional staging and photography consistently attract more serious, high-value offers than those using DIY smartphone shots.
Visual Storytelling for Different Property Types
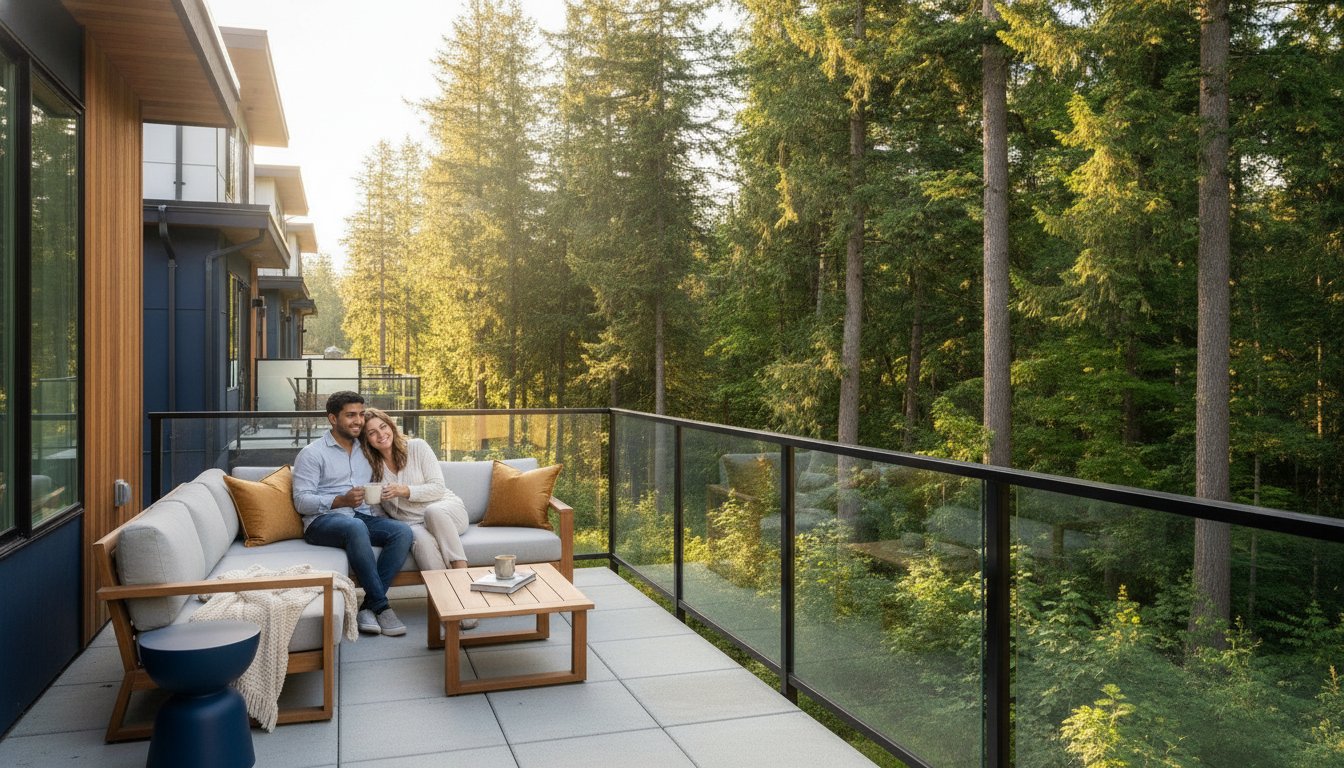
Visual storytelling must change depending on what you're selling. A detached home in Mission or Chilliwack might focus on the sprawling acreage or breathtaking mountain views. Conversely, a townhome or condo in a busy urban center needs to emphasize lifestyle, community amenities, and efficient space design. We help you tailor this narrative to your specific target demographic. Whether it's highlighting a gourmet kitchen or a sun-drenched patio, the goal is to make your property the obvious choice in a crowded field. If you're curious about how your home currently compares to others on the market, you can start with a Comparative Market Analysis to see where you stand.
The Ultimate Room-by-Room Staging Checklist
Preparing your home for a professional shoot is a different task than cleaning for a weekend guest. While a tidy room is a great start, staging for the camera requires a focus on composition, depth, and the removal of visual "noise" that can distract a buyer. Since the Fraser Valley market currently offers buyers significant choice, your home needs to look like a move-in-ready sanctuary. These home sale photography tips will help you transform your living space into a high-end digital listing that demands attention.
The kitchen often serves as the heart of the home, but on camera, it can easily look cluttered. We recommend a strict "Clear Counter" policy. Small appliances like toasters and blenders should be tucked away in cabinets. For a professional finish, ensure all stainless steel surfaces are buffed to a high shine to avoid unsightly fingerprints in high-resolution shots. You can find more detailed advice on preparing specific surfaces in Zillow's photography guide, which highlights how even minor reflections can impact a listing's quality.
The Kitchen and Dining Commandment
Remove every single magnet, photo, and note from the refrigerator to create a seamless visual plane. When it comes to the dining table, less is usually more. Instead of a full, formal place setting which can feel dated, try a minimalist approach. A simple, high-quality vase with fresh greenery or a bowl of vibrant citrus provides a natural "pop" of colour that draws the eye without overwhelming the frame.
Bedrooms and Bathrooms: Creating a Sanctuary
To achieve the "Hotel Look" in bedrooms, use neutral bedding and crisp, ironed linens. Pillows should be plumped and arranged symmetrically. In the bathroom, the "Toilet Lid Rule" is non-negotiable; always keep them closed. Clear the shower of all personal hygiene products, loofahs, and mismatched towels. Also, ensure all lightbulbs in the master ensuite are the same colour temperature to avoid strange orange or blue tints in your photos.
Maximising the Fraser Valley Backyard
In areas like Abbotsford or Chilliwack, the backyard is a massive selling point. Before the photographer arrives, hide garden hoses, recycling bins, and children’s toys. Pressure washing your driveway and patio is essential for a crisp "Hero Shot" that makes the exterior look brand new. If you want to ensure your home’s best features are highlighted correctly, our team provides expert listing preparation guidance to help you navigate these final touches with confidence.
Mastering Light and Composition for PNW Interiors
The Pacific Northwest presents unique lighting challenges that standard real estate guides often overlook. In communities like Langley or Abbotsford, we don't always have the luxury of bright, sun-drenched days. Managing the "Grey Sky" effect is crucial for creating bright, airy interiors that don't feel cold or gloomy. Interestingly, an overcast day can actually be a photographer's best friend. The clouds act as a giant softbox, providing even, diffused light without the harsh, high-contrast shadows created by direct sun. This allows us to capture the true colours of your home without the camera struggling to balance extreme bright spots.
To make your home feel as warm and inviting as possible, we recommend a simple but effective strategy: turn on every single light in the house. This includes bedside lamps, under-cabinet puck lights, and even the light inside the oven if it has a window. However, you must turn off all ceiling fans. A moving fan creates a distracting motion blur in professional photos that can make a room feel chaotic. When it comes to window treatments, we generally want them wide open to showcase those beautiful Fraser Valley views. If a particular window looks out onto a less desirable feature, using sheer curtains can soften the view while still pulling in that vital natural light. For more advice on fine-tuning your home's appearance, NAR's staging tips offer excellent guidance on making every room picture-perfect.
Technical Light Management
Consistency is the secret to a high-end look. We often see "colour casting" issues where a room looks orange in one corner and blue in another. This happens when you mix old incandescent bulbs with modern "daylight" LEDs. Try to ensure all bulbs in a single room have the same colour temperature. This consistency allows professional photographers to use HDR (High Dynamic Range) techniques effectively, ensuring the lush greenery of your backyard is visible through the window while the interior remains perfectly lit. We also pay close attention to glare on hardwood floors and granite countertops, often using polarizing filters to ensure these premium finishes look their best without distracting reflections.
Composition and Angles
While shooting from a corner is a classic way to show the full scope of a room, "straight-on" shots often feel more modern and architectural. The real secret to realism is shooting from chest height rather than eye level. This perspective keeps furniture in proportion and prevents the ceiling from dominating the frame. We also take great care to ensure all vertical lines, such as door frames and wall corners, are perfectly straight. If these lines tilt, it creates a "leaning house" effect that subconsciously unnerves buyers. If you are looking for more ways to prepare your property for the market, our seller resources provide a wealth of local expertise to help you succeed.

The 60-Minute Countdown: A Day-of-Shoot Protocol
The day of your professional photoshoot can feel like a whirlwind. To keep the stress at bay, we've developed a precise timeline to ensure your home is camera-ready the moment the photographer rings the bell. Following these home sale photography tips ensures you don't miss the small details that often show up in high-resolution images. Consistency is your best friend during this final hour, and a structured approach helps maintain that professional edge we're aiming for.
Start sixty minutes before the appointment by doing a "Whole House" sweep. Turn on every light, as we discussed in the lighting section, and ensure all blinds are adjusted to the same height and angle. At the forty-minute mark, focus on hiding the remnants of daily life. Pet bowls, kitchen bins, and laundry baskets should be tucked away in a closet or the garage. These items are functional for your family, but they create visual clutter that distracts buyers from the home's architecture.
With twenty minutes left, do a final surface wipe. High-gloss countertops and mirrors should be streak-free. Give the floors a quick check for any stray crumbs or footprints. Five minutes before arrival is the time for the most important exterior task. Move all vehicles from the driveway and the street front directly in front of your house. It is absolutely essential to keep the driveway completely clear to ensure the photographer can capture a clean, unobstructed view of your home's facade. Once the photographer arrives, take five minutes for a walkthrough to identify your home’s best angles and highlight unique features like custom cabinetry or mountain views.
The Invisible Elements of a Great Shoot
Managing the atmosphere is just as important as the visuals. We recommend that pets and children are out of the house during the shoot to allow the photographer to move freely and stay focused. Keep the air conditioning running; a cool house prevents camera lenses from "fogging" when moving between different environments. Avoid heavy perfumes or air fresheners. A neutral, clean scent is always more appealing to the professionals and future viewers alike.
The Hero Shot Checklist
The "Hero Shot" is your primary listing photo. Ensure your front door is spotless and your "Welcome" mat is perfectly straight. Take a quick look down the street for "photo-bombers" like a neighbour's overflowing bin or a stray car that might creep into the frame. If you're feeling overwhelmed by the process, we're here to help. Reach out to our team today for personalized guidance on preparing your listing for a successful sale.
Beyond Stills: Leveraging Drones and 3D Tours
While the home sale photography tips we've shared so far will make your interior look stunning, 2026 buyers expect more than just a gallery of flat images. In a market where active listings are 45% above the 10-year average, you need to provide a multi-dimensional experience to stand out. This is especially true for presale and new construction listings where the buyer might be purchasing based on a vision of the future. Steve Kooner & Associates integrates these high-tech tools into every professional marketing strategy to ensure your property doesn't just get views, but generates serious inquiries. We treat every listing as a premium production, regardless of whether it's a cozy condo or a sprawling estate.
Aerial Perspectives for Fraser Valley Estates
Drone photography is a game-changer for properties in Mission, Chilliwack, or the rural outskirts of Langley. It's the only way to effectively communicate the value of large acreage or a home's proximity to local trails and mountain backdrops. However, it's not just about flying a camera. Transport Canada has strict regulations. Pilots must be certified, and drones over 250 grams must be registered. We ensure that every aerial shot is captured legally, staying below the 400-foot ceiling and away from restricted heliports. This professional approach protects you while showcasing your property boundaries and the stunning local landscape with absolute clarity.
The Future of Virtual Showings
Matterport 3D tours have become a non-negotiable asset for attracting out-of-province buyers. These immersive experiences allow someone in Toronto or overseas to walk through your home as if they were there in person. This technology does more than just show the space; it qualifies buyers before they even call. By the time someone requests a physical tour, they've already "lived" in the layout virtually, which significantly reduces "looky-loo" foot traffic. Alongside these tours, 2D and 3D floor plans remain the most requested "non-photo" asset. They help buyers plan furniture layouts and understand the flow between rooms in a way photos simply cannot. Ready to see how these tools can elevate your listing? Get a Home Evaluation today to start your journey toward a high-value sale.
Your Home’s Best Chapter Starts with a Great First Impression
You’ve now mastered the essential home sale photography tips needed to help your property stand out in today's competitive Fraser Valley market. From managing the specific challenges of our Pacific Northwest light to following a precise 60-minute countdown, these steps ensure your listing captures high-value attention from the first click. High-quality imagery and immersive 3D tours aren't just about looking good; they're strategic tools that drive serious showing requests and lead to better offers.
At Steve Kooner & Associates, we specialize in translating these visual strategies into real-world results. Our team brings deep expertise in Fraser Valley market trends and a proven track record in new construction and presale marketing. We include comprehensive professional marketing in every listing because we know that a magazine-quality presentation is the key to your success.
Ready to see your home in its best light? Book your professional home evaluation and marketing consultation with Steve Kooner today. We're here to take the stress off your shoulders and guide you through a smooth, profitable transaction. Let's make your home the next success story in our community.
Frequently Asked Questions
Should I be home during the real estate photography session?
It is generally best if you are not home during the shoot. This allows the photographer to move freely through the house and focus entirely on capturing the best angles without distractions. If you must stay, we recommend waiting in a specific area like the backyard or a separate room that has already been photographed.
How many photos do I actually need for a standard Langley listing?
Most standard listings benefit from 25 to 40 high-quality images. While it's tempting to show every corner, focus on the rooms that drive value, such as the kitchen, master suite, and main living areas. Providing too many photos can lead to scrolling fatigue, so we prioritize the shots that tell the most compelling story of your home.
Does professional photography really increase the final sale price of a home?
Professional photography is a vital investment that consistently leads to higher final sale prices. In the current Fraser Valley market, where active listings are 45% above the 10-year average, standing out is essential. High-quality imagery attracts more serious buyers and can help you achieve a price closer to your initial asking goal.
What happens if it is raining or overcast on the day of my shoot?
We typically proceed with the shoot because overcast skies actually provide the best lighting for interior photos. Clouds act as a natural diffuser, which prevents harsh shadows and creates a soft, even glow throughout the rooms. For exterior shots, professional editors can perform a "sky replacement" to ensure your home looks bright and welcoming regardless of the weather.
Do I need to remove all my family photos and personal items?
Yes, depersonalizing your space is one of the most effective home sale photography tips for a successful listing. Removing family photos and unique personal collections allows potential buyers to visualize their own lives in the house. This shift from "your home" to "their future house" is a powerful psychological trigger that encourages more showing requests.
How should I handle my pets during the photography session?
Pets should be removed from the home or kept in a secure, hidden area like a kennel or the garage. This ensures the photographer can work efficiently without tripping over curious animals or dealing with accidental "photo-bombs." It also keeps the focus entirely on the property’s features rather than your furry family members.
How long does a typical professional real estate shoot take?
A standard professional shoot usually takes between one and two hours to complete. If your property requires additional services like drone footage or a Matterport 3D tour, the session may take longer. Following our 60-minute countdown protocol ensures the photographer can start immediately and capture every room during the peak lighting window.
Should I leave the lights on or off for the best interior photos?
You should turn on every single light in the house, including bedside lamps and under-cabinet puck lights. This creates a warm, multi-layered lighting effect that makes the home feel more inviting on camera. Just remember to turn off all ceiling fans, as the moving blades create a distracting blur that can ruin an otherwise perfect architectural shot.
Disclaimer
"Not intended to solicit buyers or sellers that are under current agency agreement" "Each RE/MAX office is independently owned and operated"